Go into your WordPress dashboard: www.yourwebsitelink.com/wp-admin, hover over Divi on the left panel and click on Theme Options.
Once you are in Theme Options, you will see the General tab automatically, the first option is the Divi logo, put a link to your logo or upload one.
If you press the upload button then you will be taken to the media folder on your WordPress website, choose a logo image or upload one.
Changing The Divi Logo Size And Dimensions
Now if you want to edit the logo size and dimensions, you have to go to the left panel again on your WordPress dashboard (the backend).
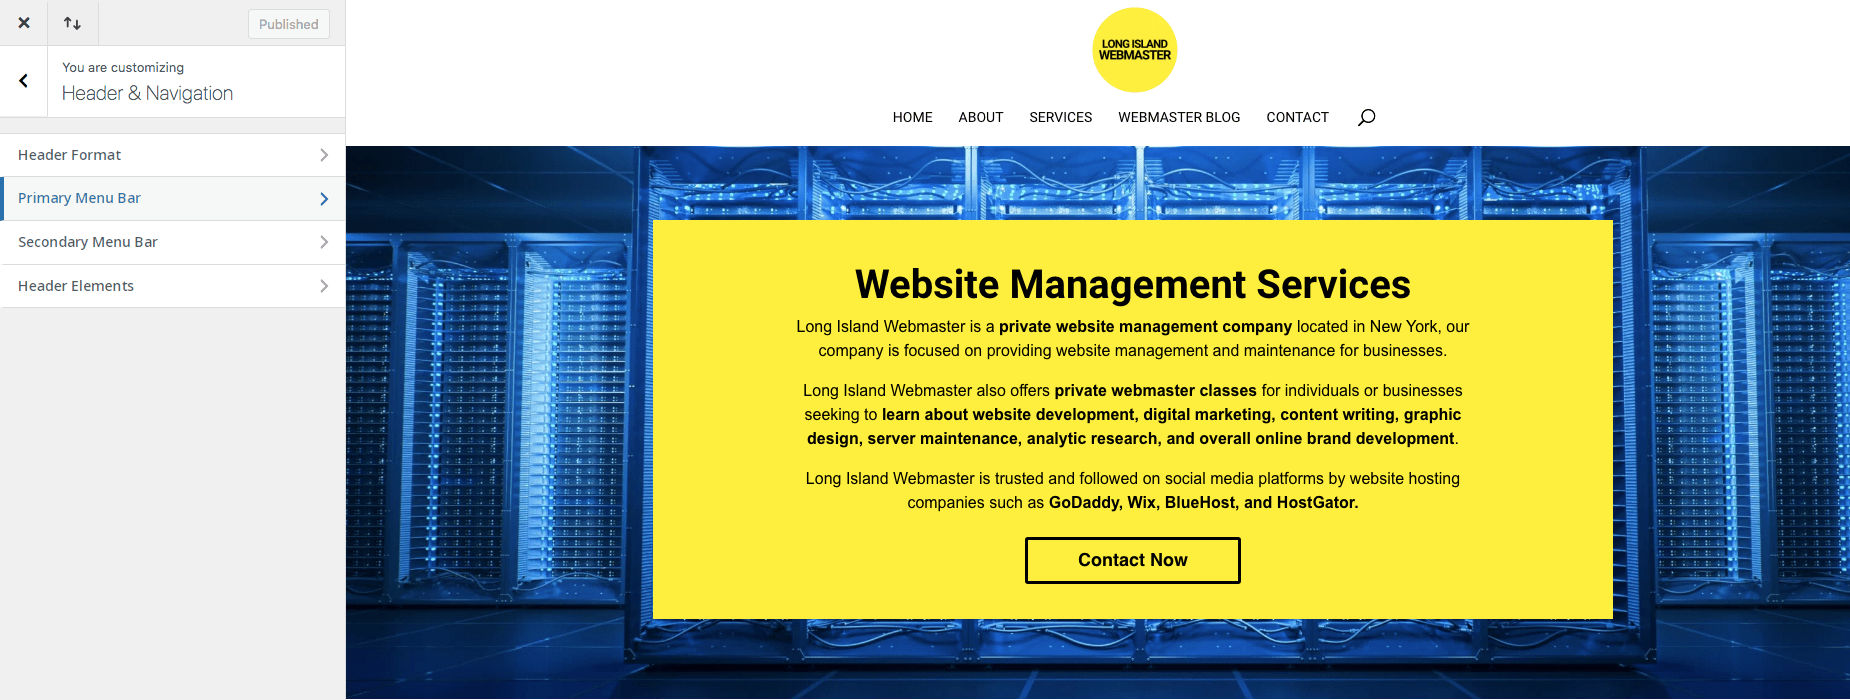
Hover over Appearances and then click Customize, after that, you’ll see another panel load up with the second option being: Header & Navigation, click this.
You can click on Header Format after, here you can edit the way the logo and menu are displayed to your website visitors, play around with it.
Click on the Primary Menu Bar if you want to change the logo size, menu height, and a few other variables you can find in the Header & Navigation sections.
You can also hide the logo if you want, be sure to press the publish button after you make changes so the progress is saved and displayed live.
Play Around With Divi Options in Customize
Most of the changes you have to make for Divi are in the theme customizer which is under appearances, the only thing is that Divi doesn’t allow logo uploads there.
You have to always hover over Divi on the backend (WordPress Dashboard), then go through the theme options, that’s where you must change the logo always.
Maybe one day, Divi will decide to put the logo upload option in the customize section, it would probably make life easier for first-time users wondering how to change the logo.

My name is Greg and I have 20 years of experience in creating and managing websites. I have 6+ million views collectively on social media platforms like Quora, Facebook, LinkedIn, and Instagram. Contact me to get your website optimized for search engines.


